- So first of download these files: Hammereditor .
- Unzip the file.
- Now install hammer_v34.exe.
- Now copy hammer.exe present in hammer_testbuild04 folder (where you have downloaded above file).
- Paste this file to where you have installed hammer_v34.exe, it will ask you to replace the file click ok to do that.
- You have successfully installed the software, now open the valve hammer editor.
- After opening you will configuration box, here you have to configure your game. Follow these steps.

8. Don't click ok this is only for Game configuration tab, now move to build programs tab.

9. Now go to Textures tab and click on add wad then browse to your counterstrike folder then cstrike folder and select all the wad files.

10. This was the last part of configuration leave everything else. Click ok.
11. Go to file and create new.
12. Draw a simple one room map, follow these steps.
13. Select this from the side menu 
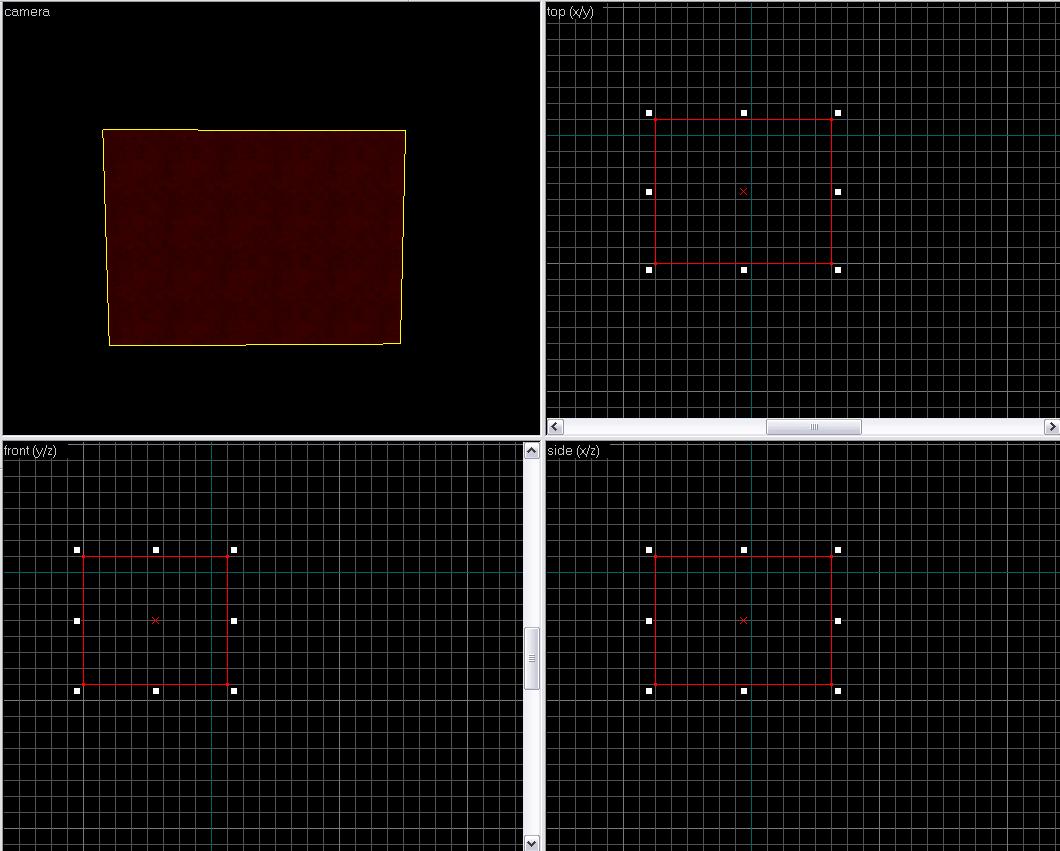
14. Go to top(x/y) panel and draw a simple box, and right click to create to create object then adjust the height and width from the side and front panels by using the selection tool 
15. Now to go to tools tab and select make hollow, type the value -32 and click ok.
16. Zoom into the object you will see something like a room.

17. Now add some entities, click on entity tool  .
.
.
18. Add anywhere on the map, adjust it using selection tool and make it just above the floor.
19. Keeping select this entity press alt+enter and select info_player_start (Counter terrorist) from the class
20. Similarly make another entity and select info_player_deathmatch (terrorist).
21. These two entities represents spawn area for
Counter terrorist and terrorist).
22. Similary from this method, you can add bomb place by selecting info_bomb_target, armoury by selecting armoury_entity etc.
23. You can add textures from the "toggle texture application" button from the side menu.
24. Your map is ready, lets compile it which is one of the most difficult part of this tutorial.
25. Export your map to any place and save it as .map file.
26. There are many ways to compile the map but i use zhlt compiler.
27. Extract the zhlt file from the above downloaded file.
28. Read zhlt.htm which was present in the above downloaded file for further detail.
29. Enjoy!!!!
No comments:
Post a Comment